
How to Customize Your Timeline in Word
Once you’ve added your project information and dates, it’s easy to modify the timeline. You can add a title, switch to a different timeline layout, and customize the color palette.
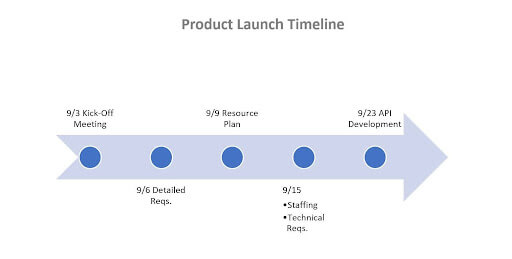
Add a Title to Your Timeline
- Double-click on the header area of the Word document (the very top of the document).
- You’ll see a line appear with a little gray box that says Header. You’ll also see your cursor appear in the header area. Start typing your timeline’s title here.

- You can change the font size and color in the Fonts drop-down menu in the Home tab. In the Paragraph group, you can change the alignment of the text.
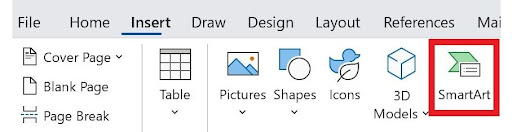
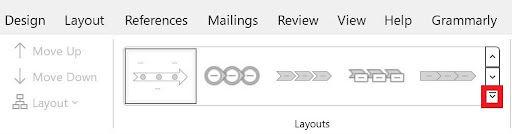
Choose a Different Timeline Layout
- Double-click on the light blue part of the arrow.
- In the SmartArt Design tab, in the Layouts group, click the bottom arrow on the right side. Here, you can access all SmartArt graphic options. Click on the timeline layout you’d like to use.
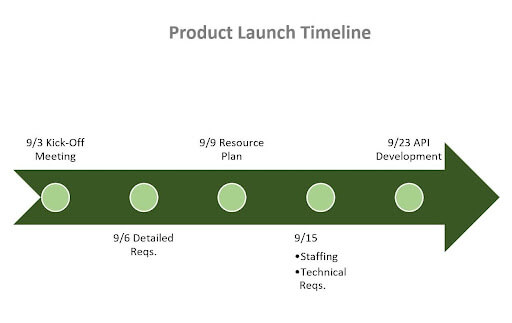
Change the Timeline Color
- To change the background color of the timeline, click the image, and in the Format tab, click Shape Fill. Select the new background color you’d like.
- To change the color of the circles, click on a circle, hold down Shift, and click the other circles. Select Shape Fill again to pick the color you’d like.
- To change the font and font size of the tasks on the timeline, click on the white space around the timeline. In the Home tab, adjust the size, type, and color in the Font group.
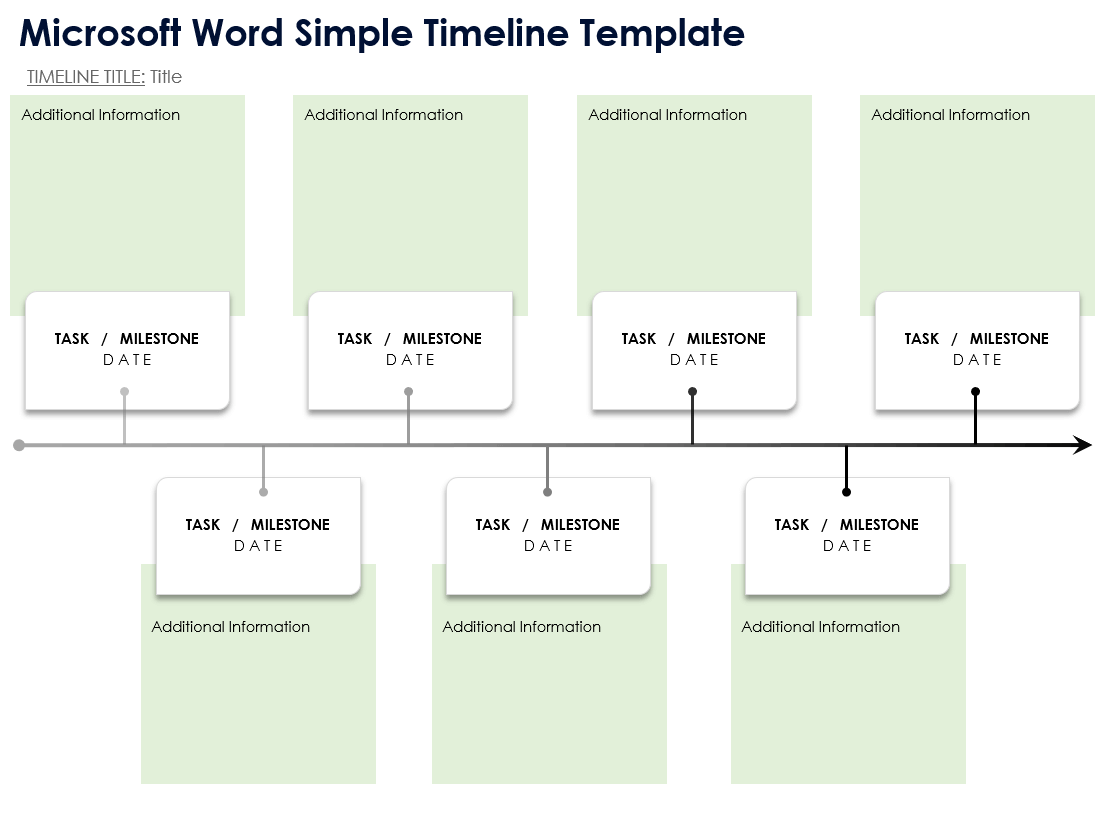
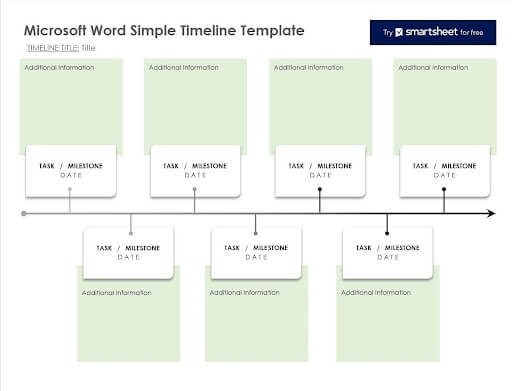
Microsoft Word Simple Timeline Template
Download the Simple Timeline Template for Microsoft Word
When to Use This Template: Project managers, event planners, business analysts, marketers, and human resources professionals can use this template to plan and track milestones, tasks, and events more effectively. It clarifies the timeline from the start to ensure that all teams and stakeholders are on the same page.
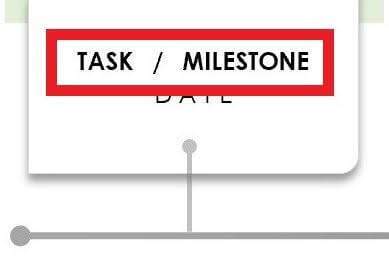
Notable Template Features: This template outlines important tasks and milestone dates in a simple yet detailed visual timeline. Next to each date, there is space to add essential details, such as objectives or next steps. You can edit the timeline dates to show specific dates, months, quarters, or years as needed.
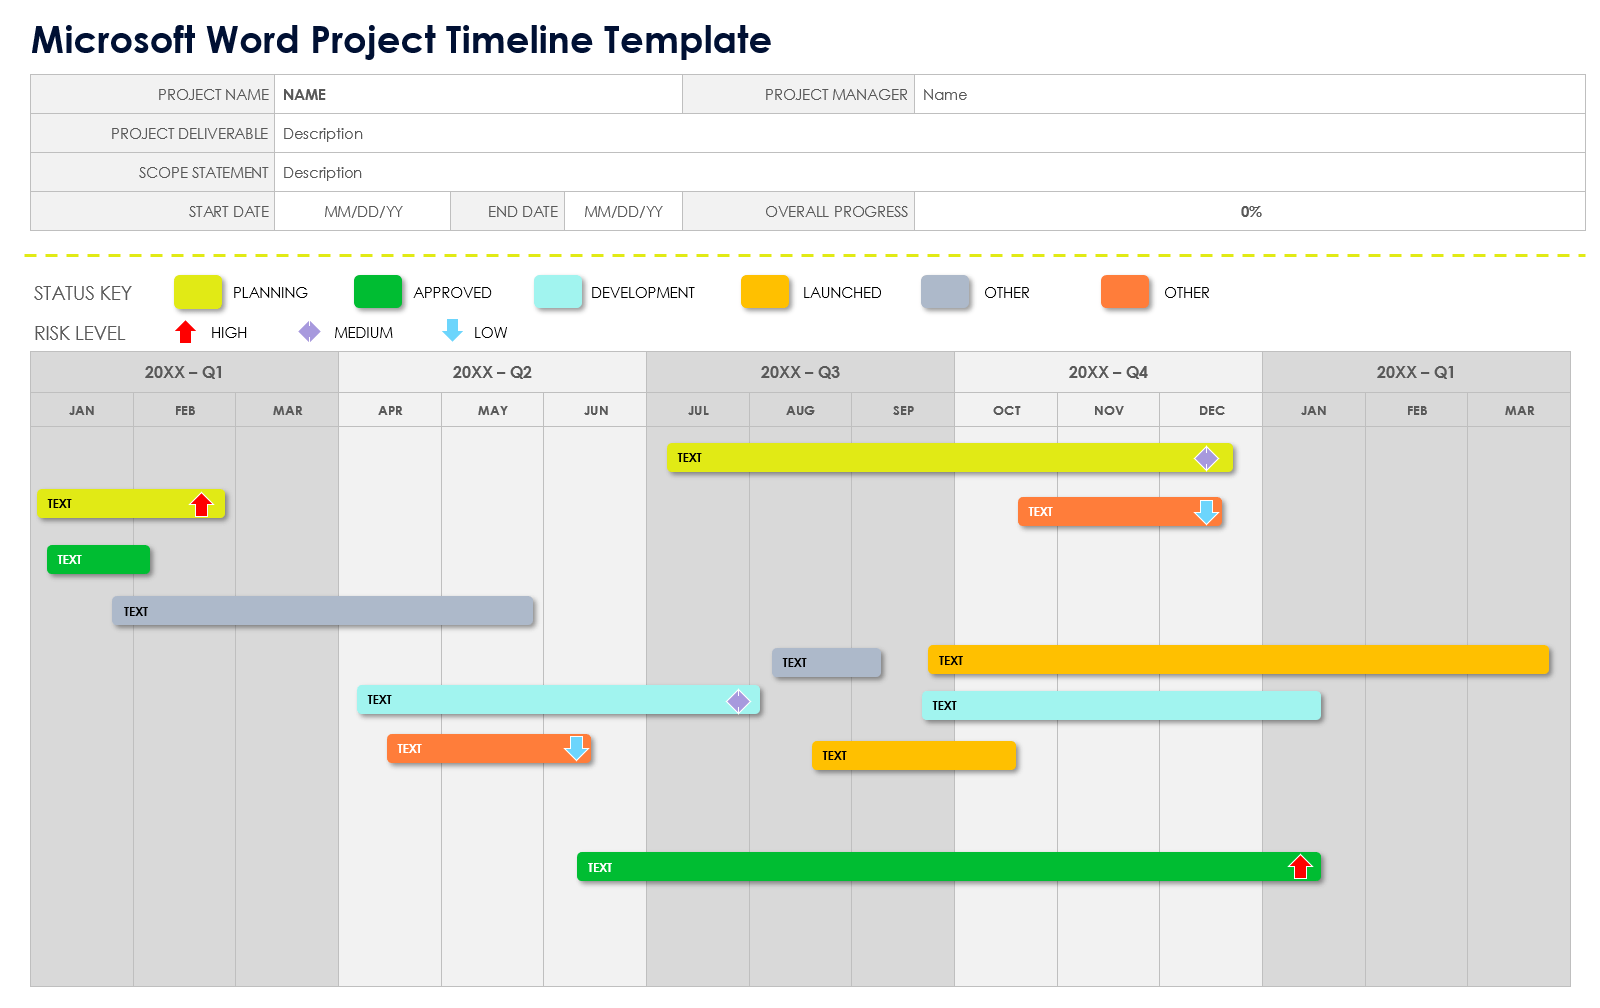
Microsoft Word Project Timeline Template
Download the Project Timeline Template for Microsoft Word
When to Use This Template: Project management, event planning, construction management, marketing, IT, and human resources professionals can use this template to outline and visualize project schedules, tasks, and milestones.
Notable Template Features: This template table includes space to list the project name, manager, deliverables, and scope statement. This template displays project milestones and tasks in horizontal swimlanes across a monthly and quarterly visual timeline, and features color-coded status and risk level keys for each task to inform and update team members on the project status and milestones.
You can also choose from a variety of timeline templates in Microsoft Word in our complete roundup, which includes hourly, yearly, Agile, and other specific timeline structures.
Microsoft Word Vertical Timeline Template
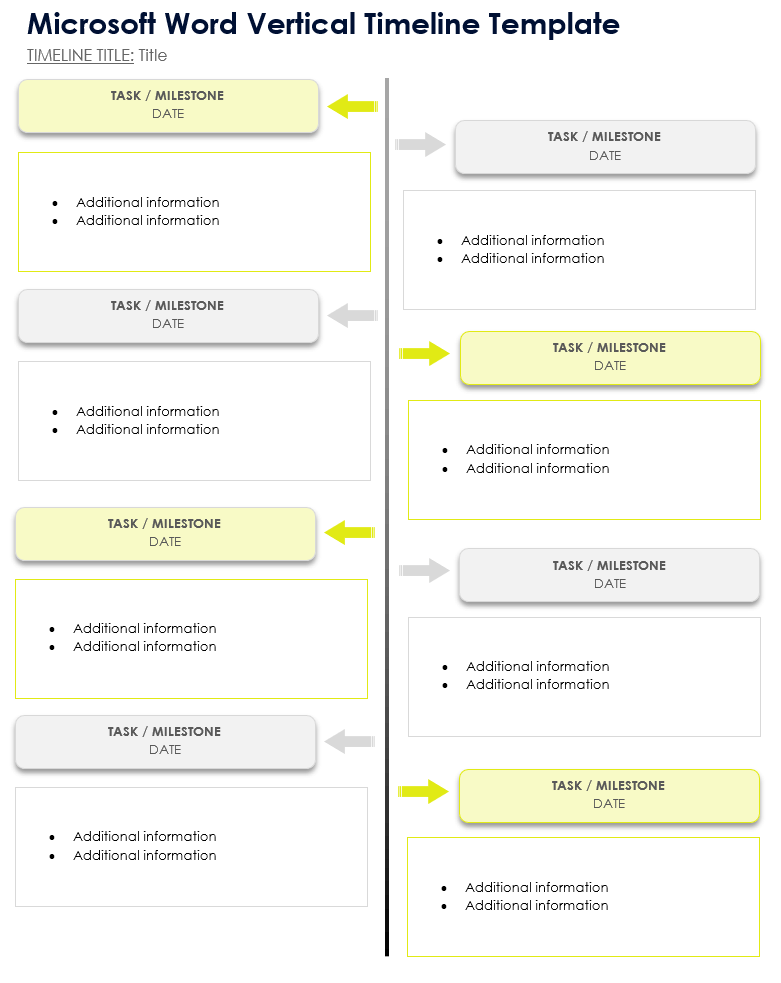
Download the Vertical Timeline Template for Microsoft Word
When to Use This Template: Event planning, project management, business analysis, marketing, and human resources professionals can use this template to outline and detail a timeline visualization in a linear format, with tasks cascading from top to bottom in a vertical layout.
Notable Template Features: This template includes space to list timeline dates, events, and additional information. The vertical timeline takes up less horizontal space and is easy to follow from top to bottom. This format is more intuitive for organizing chronological events and tasks, as the vertical layout provides an easy-to-follow flow.
How to Build a Timeline Using a Template
You can also use a Microsoft Word timeline template from this page to plan and manage events, tasks, and milestones. Download one of the options on this page, and use the following step-by-step guide to open and complete the timeline template:
- Download the Simple Timeline Template .
- Double-click to open the downloaded template file.
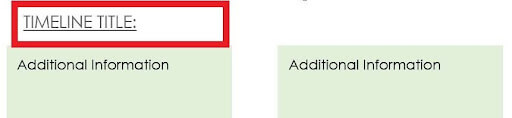
- Enter the name of your project in the Timeline Title field.
- Enter the timeline Date.
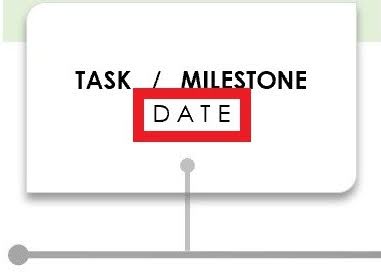
- Enter the Task/Milestone.
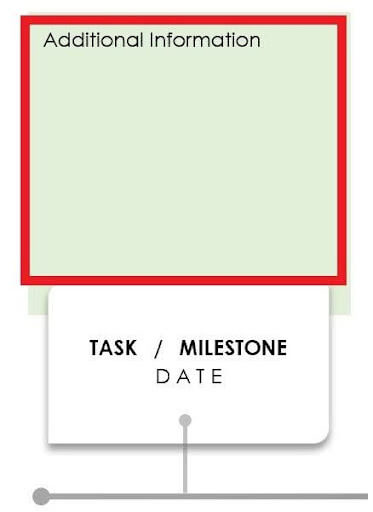
- Enter any additional details about the project or timeline in the Additional Information field.
How to Create a Timeline in Smartsheet
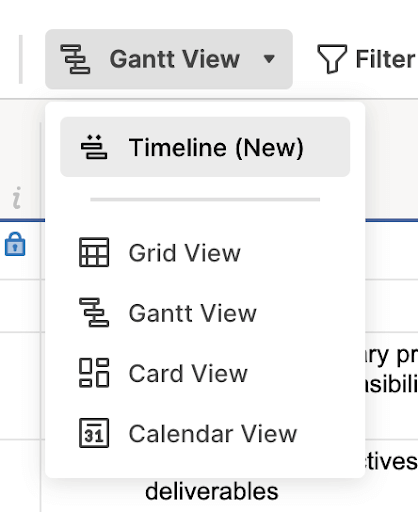
The Timeline feature in Smartsheet is a new view that you can access the same way you would select Gantt, Board, Calendar, or Grid views. You can access Timeline in any sheet that has one or more date columns.
Follow these steps to create and use a timeline in Smartsheet:
- Open an existing sheet with at least one date column in Smartsheet. In this example, we are working in a simple project plan template to show you how to customize features. Switch views and select Timeline. The screen will change from Grid View to Timeline View.
- The time span appears horizontally across the top.

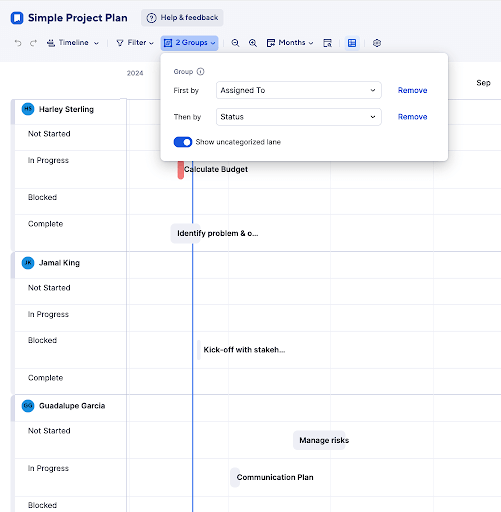
You can group tasks to get a better view of how work is progressing. Click Group from the top navigation bar, and choose Assigned To in the drop-down menu for First by and Status in the drop-down menu for Then By.
Note: You don’t need to select a filter for Then By. You can group by just one filter.
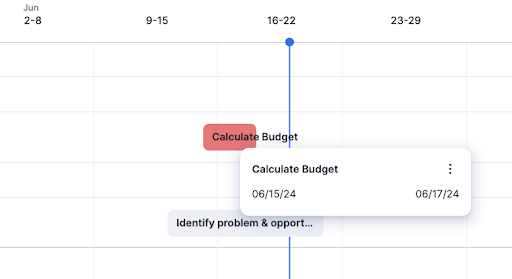
- On the timeline, Calculate Budget appears in red because this task is past due. Hover your mouse over the red bar to see more details about the task.
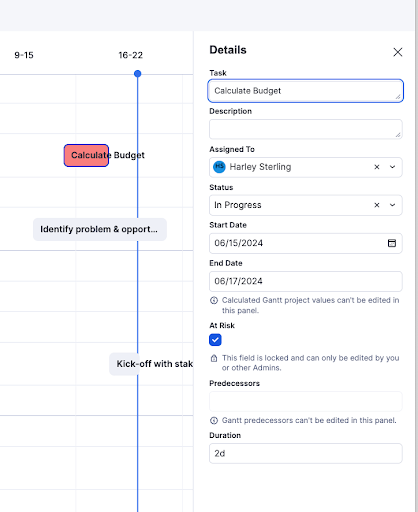
- You can edit the details for a task in Timeline View. Hover your mouse over a task, right-click, and click Edit details. A Details view appears on the right side. Click in any field and make changes. The changes are saved to the timeline.
- Change the timescale for displaying tasks on the timeline by clicking the timescale icon in the top navigation bar and clicking Days, Weeks, Months, Quarters, or Years.

Make Better Decisions Faster with Timeline View in Smartsheet
Timeline view in Smartsheet empowers users to plan, visualize, and collaborate on date-based work in real-time, enabling you to effortlessly organize tasks, track progress, and communicate status.
In just a few clicks, launch your project’s timeline on any sheet to visualize your work, understand the details, and adjust information, making it easy to track project progress, detect blockers, and communicate statuses.
Discover how timeline view in Smartsheet can help your team visualize date-based work and achieve greater efficiency and transparency across projects.
Learn more about timeline view in Smartsheet.